Ever had a pocket door stick or wobble at the worst moment? Small bottom parts often cause the issue. Pocket door guides and a proper pocket door bottom guide keep the door steady and quiet. This post shares five clear tips for picking, placing, and adjusting door guides for pocket doors. Use these steps to get smooth sliding fast.
Pocket door guides keep sliding doors straight, quiet, and scratch-free, so a small part makes a big difference. This guide shows how to pick, measure, install, and maintain a pocket door guide or pocket door bottom guide with simple steps and pro tips.
Understanding Pocket Door Guides: Types and Functions
Correctly chosen pocket door guides stop wobble, prevent rubbing on the split jamb, and keep the slide smooth across the full travel; see this simple walkthrough from How to Install Pocket Door Guides for a visual baseline.
For most projects, match the guide to door thickness and frame style, then set clearances before trim, which protects paint and hardware long term; if you need a full set, browse pocket door hardware options for compatible hangers and tracks.
Jamb-Mounted Guides
Jamb-mounted door guides screw to the split jamb or inside the pocket and straddle the panel edges to keep the slab centered through the opening.
Pick models sized for 1-1/8 in or 1-3/8 in doors, set a uniform 3/16 in clearance each side, and place screws into solid wood so the guide won’t shift under daily use.
Floor-Mounted Bottom Guides
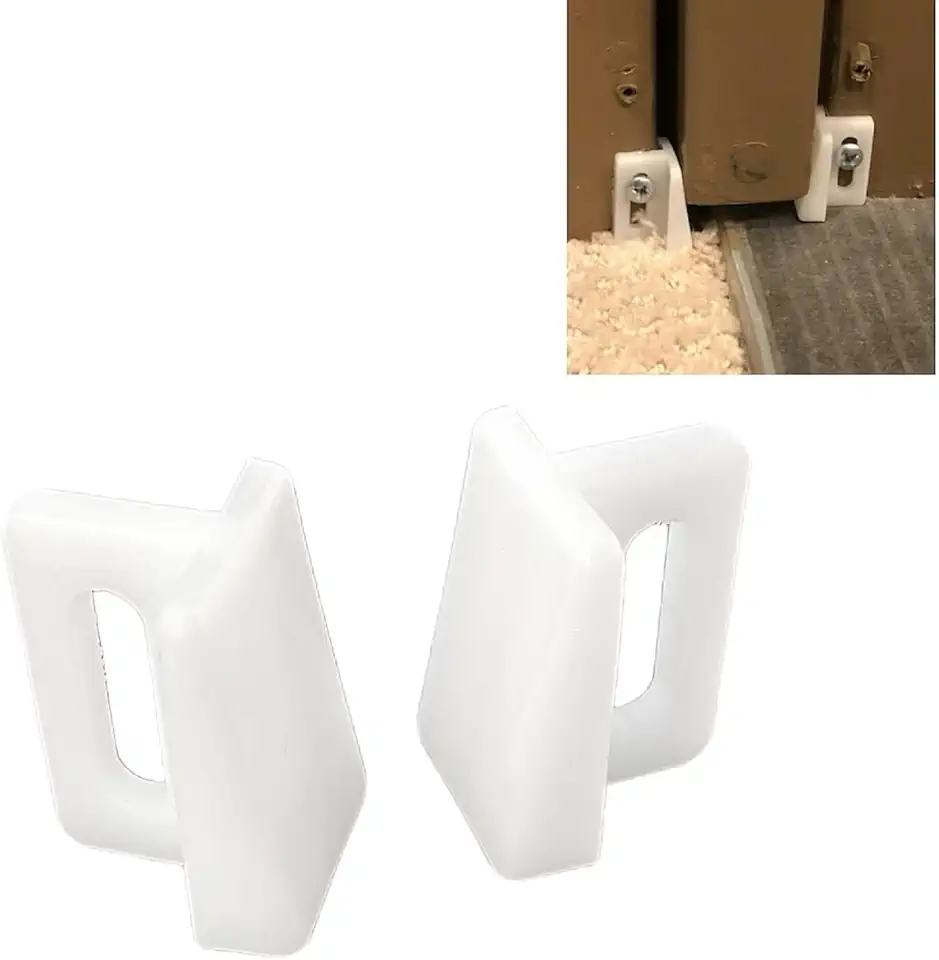
Floor-mounted bottom guides sit at the threshold to stop lateral sway; some need a small mortise in the door bottom (common 1/4 in x 7/8 in) for a clean, hidden fit.
Use floor guides for wide or heavy slabs where a single jamb-mounted pocket door guide can’t control wobble near full extension.
Track-Mounted Guides
Track-mounted guides align the panel from above and pair with trolley hangers; this setup reduces bottom friction and works well in high-traffic openings.
Choose matching brands for the header track and guide blocks so adjustments remain smooth and parts share the same tolerances.
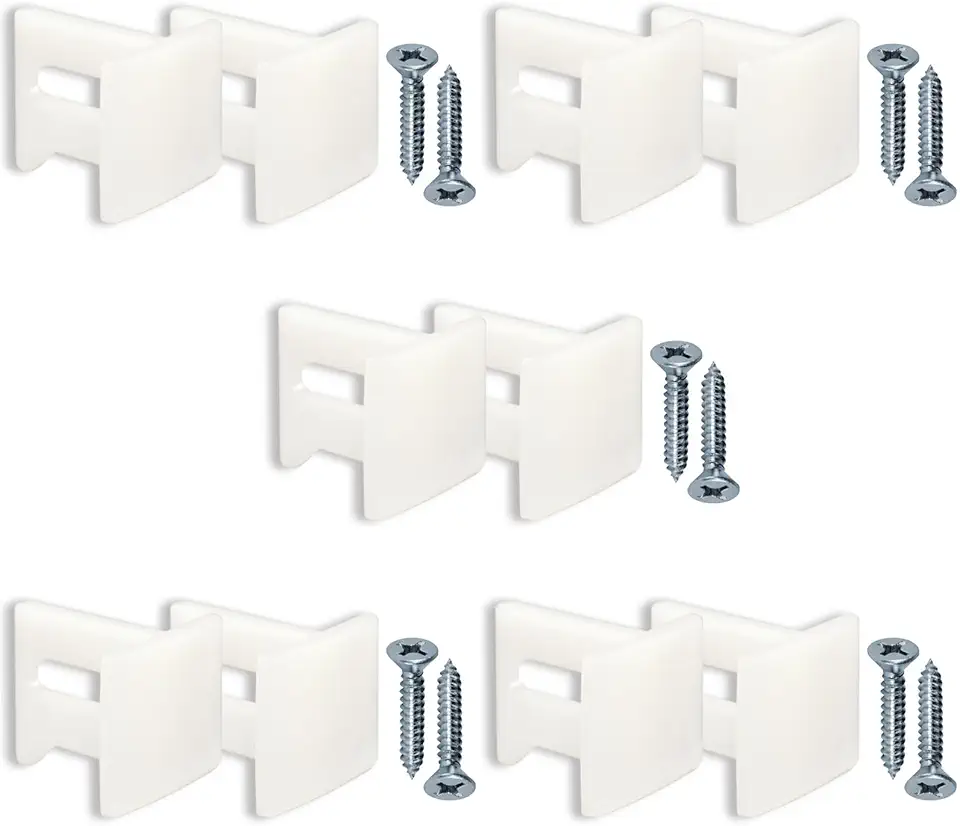
These starter picks cover common jamb and floor needs for door guides for pocket doors.
Essential Tools and Materials
Required Tools
Gather all tools first so installation flows without stops and your measurements stay consistent.
- Tape measure and level for straight, square, and plumb checks
- Drill and screwdriver for pilot holes and mounting
- Saw for header cuts and notches
- Wood shims for truing the pocket frame
- Mounting screws (#8 x 1″ typical for guides)
Materials Needed
Have the pocket door kit, header track, pocket door guides (jamb, floor, or track-mounted), matching trim, and spare screws ready so you don’t stall mid-build.
Custom openings might need upgraded kits or different bottom guides for pocket doors; if sizing is unique, review custom size doors options before framing to save rework.
Guide Compatibility Check
Match guide style and size to your door thickness and frame so contact points stay centered and quiet.
| Door Thickness | Best Guide Type | Typical Clearance | Notes |
|---|---|---|---|
| 1-1/8 in | Jamb-mounted plastic/nylon | 3/16 in each side | Great for light to medium doors |
| 1-3/8 in | Floor-mounted bottom guide + jamb guide | 1/8–3/16 in each side | Controls sway on wider slabs |
| Heavy/solid core | Track-mounted guide + floor guide | Per hardware spec | Use rated trolleys and reinforced frame |
Accurate Measurement and Preparation
Opening Measurements
Confirm rough opening width and height, then set the header track dead level so the slab won’t roll open or drift; the track must match door width for smooth travel (Cascade Pocket Door Install Manual).
Mark centerlines on the floor and header to align pocket door bottom guide and hangers, which keeps both planes parallel from the start.
Door Thickness Assessment
Measure slab thickness at multiple points; pick door guides for pocket doors that fit the true size, not the label, because paint and veneers can add real width.
Stock guides often list 1-1/8 in or 1-3/8 in fits; mix-ups cause rub on the jambs or sloppy play at the bottom.
Frame Preparation
Plumb both split jambs and shim every 16 in on the jambs and every 24 in on the header so the pocket stays rigid.
Pre-drill for guide screws and test-fit the slab dry before installing trim; if you’re new to pocket doors, skim the pocket door overview for quick parts basics.
Step-by-Step Installation Process
Frame and Track Installation
Cut and set the header square to studs, then mount the track level across its length before tightening screws so hangers roll straight (Windor Systems Pocket Door Guide).
Check plumb on both pocket studs and the strike side; small twists now show up later as rub marks and noisy slides.
Mounting Door Guides
Install jamb-mounted pieces with #8 x 1 in screws, facing the opening; set even side-to-side gaps so the slab glides without contact.
Place a floor-mounted pocket door bottom guide at the threshold; if the model requires a mortise, mark 1/4 in x 7/8 in, cut cleanly, and test the fit before final screws.
Adjustment and Testing
Hang the slab on adjustable trolleys and level the top edge, then fine-tune guides to hold a 3/16 in side gap without squeeze; test full open and close for smooth travel before adding trim.
Only after a clean test should you fasten casing and base, since trim can hide small issues that cost more time to fix later.
Alignment and Securing Techniques
Precise Guide Positioning
Set guides so the slab stays centered at both the pocket and the strike side; slide the door slowly and watch for any rub along the route, then nudge positions as needed (DoubleDW Install Guide).
Keep screws snug but not overdriven; too much torque can bow the frame and push the slab out of square.
Shimming for Stability
Place shims behind the keeper and between rough studs and pocket frame at regular intervals to prevent future drift, especially on high-use doors.
A dab of polyurethane adhesive under jamb caps at 16 in spacing helps stop cap movement and keeps transitions tight.
Final Adjustments
Re-test gaps after trim install, confirm latch alignment, and recheck trolley height so the reveal lines run even across the opening.
Top Pocket Door Guide Products
These popular picks cover jamb-mounted and bottom guides for pocket doors, with sizes for 1-1/8 in and 1-3/8 in slabs and quiet plastic or nylon bearing surfaces.
Maintenance and Troubleshooting
Regular Maintenance Checks
Inspect pocket door guides every few months: confirm screw tightness, verify side gaps, and wipe dust from track and guides to cut friction.
If squeaks start, clean contact points and apply a dry lubricant to trolleys and guide faces as recommended by hardware makers like Knape & Vogt so plastics stay quiet.
Common Issues
If the door drifts open, the header isn’t perfectly level; if it binds, the frame may be out of square or the bottom guide sits off center.
Chatter near full extension points to weak guide control; add or upgrade a pocket door bottom guide to stiffen the path.
Replacement Guidelines
Replace cracked, noisy, or loose guides right away; choose nylon or plastic for quiet sliding, and match thickness ratings so the slab stays centered .
For more tips on doors and hardware, scan our blog and bookmark your guide model for quick reorders.
Common Installation Mistakes to Avoid
Measurement Errors
Skipping precise width/height checks or using a bowed level leads to misaligned tracks and rubbing edges.
Measure twice, then set the track dead level before any trim work.
Installer tip
Frame Securing Issues
Missing shims at 16–24 in spacing or over-tight screws can twist the pocket and throw the door out of square.
Guide Placement Problems
Improper placement of door guides for pocket doors causes wobble or rub; align guides to the door’s true centerline and test before setting casing.
If you plan a multi-panel opening like a 4-panel sliding door, verify each panel’s guide spacing to avoid cumulative errors.
FAQs
What Are Pocket Door Guides Used For?
Pocket door guides keep a sliding door aligned and stable as it moves into and out of the wall cavity. They prevent the bottom or top of the door from swinging or scraping, reduce noise and binding, and ensure the door tracks smoothly and stays square in its pocket.
How Do I Install Pocket Door Guides?
Choose a guide that fits your door and track type, mark the position where the door meets the jamb or floor, drill pilot holes if required, and fasten the guide with screws or the supplied hardware. For recessed guides you may need to rout or chisel a small slot. After installation, slide the door to check alignment and adjust the guide as needed per the manufacturer’s instructions.
Can Pocket Door Guides Be Replaced?
Yes. Most pocket door guides are removable and replaceable. Remove the old guide by unscrewing or prying it out, clean the area, then fit the new guide—recessing or drilling holes if necessary. Choose a replacement that matches the door thickness and mounting style; adjustable guides make alignment easier.
What Are The Best Types Of Guides For Pocket Doors?
The best guide depends on your door and usage: nylon or Delrin guides run quietly and resist wear, metal guides are durable for heavy doors, and spring-loaded or adjustable guides simplify alignment. Recessed guides provide a neat look while surface-mounted guides are easier to install. For humid or corrosive environments, choose stainless or corrosion-resistant materials.
Do Pocket Door Guides Come In Standard Sizes?
There are common sizes and styles, but dimensions aren’t fully universal. Many manufacturers offer standard-width guides or adjustable models to fit typical door gaps. Always measure door thickness, the reveal gap, and the track style, and match the guide to those measurements or choose an adjustable option for best fit.

Abdelbarie Elkhaddar
Glamorwood Ltd.
A door expert and home improvement writer with over 12 years of experience. I help homeowners and contractors choose smart, stylish, and secure doors.


![Pocket door guides [keep your door aligned & on track] (amazon link)](https://luxydoor.com/wp-content/cache/flying-press/59627868c3082efea6837b5785b31919.jpg)


Leave a Reply