


Camper doors must match the structural opening, corner shape, wall thickness, hinge position, and threshold—not just the advertised width and height. Measure the opening in several places and verify the seller’s cutout diagram before buying a camper door, screen, lock, or complete assembly.
Table of Contents
Camper Door Types and Buying Checklist
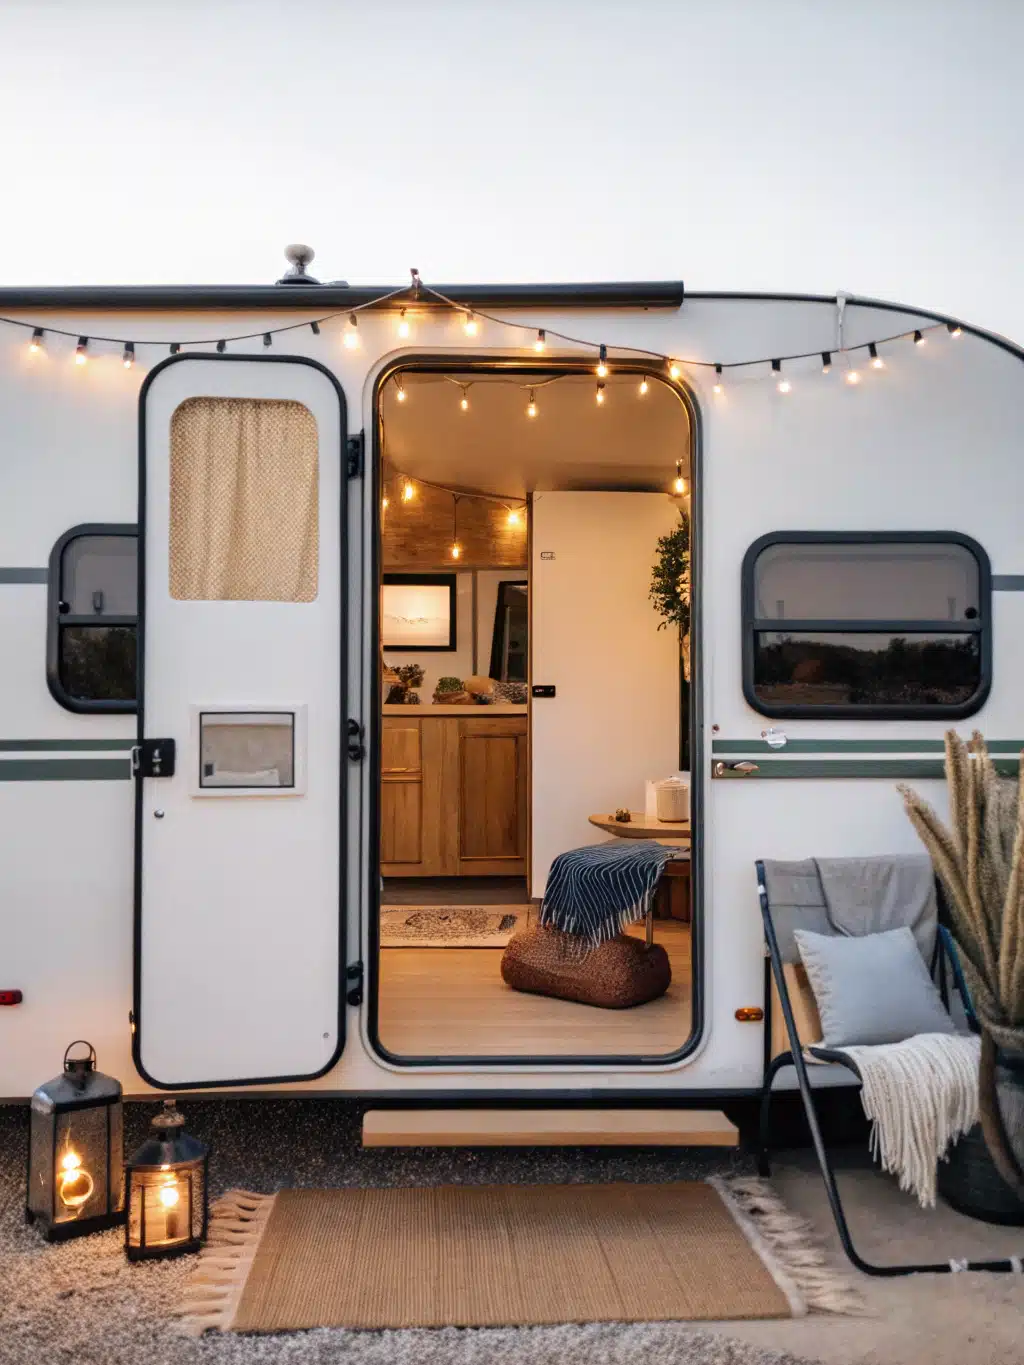
A replacement can fit by nominal size yet miss the opening at the corners or threshold. Before checkout, record the rough opening, outside frame, slab size, corner radius, wall thickness, hinge side, swing direction, and included parts.
Camper Door Comparison Table
| Door type | Typical size examples | Verify before ordering | Best use |
|---|---|---|---|
| Complete RV entry door | 24 x 68, 26 x 72, 30 x 72 inches | Cutout, handing, radius, wall range, screen and lock | Damaged or missing full assembly |
| Camper screen door | Matched to an entry-door frame | Hinges, latch height, threshold and slider | Ventilation and insect control |
| Teardrop door | 26 x 36 or 29.5 x 41 inches | Frame depth, mirrored handing and interior clearance | Compact campers and custom builds |
| Baggage door | Many small rectangular sizes | Flange, lock, seal and compartment clearance | Storage access, not passenger entry |
| Custom conversion door | Made to the opening | Lead time, drawings and return restrictions | Vintage or nonstandard construction |
Complete RV Entry Doors
A complete entry assembly can include the exterior slab, aluminum frame, hinges, window, lock, screen door, and interior trim ring. Package definitions vary, so read the component list rather than relying on a photograph or the word “complete.”
Camper Screen Doors
A camper screen door must match the entry frame’s hinge spacing, latch height, upper profile, and threshold. A nominally identical screen can drag or refuse to latch if the replacement threshold sits only a few millimeters higher.
Teardrop Camper Doors
Teardrop camper doors are short, light assemblies often offered as mirrored left- and right-side units. Check bed-platform clearance, roof curvature, lock position, and whether each side uses truly mirrored hardware before cutting two openings.
Baggage and Access Doors
Access doors serve storage bays, utility compartments, water heaters, and electrical connections. They aren’t passenger entry doors and may lack suitable hinges, latches, insulation, interior releases, or structural framing for occupant use.
Custom Conversion Doors
Vintage campers, buses, and cargo conversions may need a custom door when stock cutouts don’t match. Submit a dimensioned drawing and photographs; custom orders often carry longer lead times and strict nonreturnable terms.
Materials and Included Components
Most camper doors pair an aluminum frame with a laminated or foam-core panel. Confirm the window material, glazing label, trim ring, screen, lock, keys, seals, fasteners, and finish because included parts vary between listings.
Labels and Part Numbers
Look for a manufacturer label along the hinge edge, frame, screen channel, window trim, or interior side. Photograph every code before removal; a readable part number can reveal the original cutout, radius, frame depth, and replacement family.
Measuring Camper Doors for Fit
Measure a camper door at the structural rough opening, not only the visible panel. Record width and height in three places, then verify wall thickness, corner radius, handing, threshold clearance, and the manufacturer’s cutout specification.
Measure the Rough Opening
Remove enough interior trim to expose the true opening. Measure width across the top, middle, and bottom, then height at the left, center, and right; keep all six readings because variation exposes twist, damage, or an earlier poor installation.
- Photograph the intact door from inside and outside.
- Measure the outside frame and the movable slab.
- Expose and measure the structural cutout.
- Check both diagonals to identify an out-of-square opening.
- Photograph the tape against each measurement.
Frame Versus Slab Size
The slab size describes the moving panel, while the frame size covers the full assembly and flange. The required cutout is another measurement, so ask the seller which dimension its advertised size represents.
Common Camper Door Sizes
Marketplace sizes often include 24, 26, 28, 30, and 32-inch widths with 68 to 74-inch heights. These are nominal size groups, not universal standards; two 26 x 72-inch doors can require different cutouts.
Square Versus Radius Corners
A correct width and height won’t rescue a mismatched corner. Use the maker’s template or measured arc to identify the corner radius; tracing the old flange alone can hide the cutout behind it.
Wall and Trim Thickness
Measure the finished wall at several exposed points. The outer frame and interior trim ring must clamp the actual wall thickness without leaving a gap or crushing foam, and screw length must suit the substrate behind the skin.
Threshold and Floor Clearance
Compare sill height with flooring, steps, cabinets, mats, and the screen sweep. Renovated flooring often causes a hidden clearance problem: the main door closes while the screen scrapes or its latch rises above the keeper.
Door Handing and Swing
Sellers don’t always define left- and right-hand doors alike. Record the exterior hinge side, exterior latch side, and swing direction, then match those observations to the seller’s drawing rather than trusting one handing label.
Exterior Clearance Checks
Open the door through its full arc and inspect the awning arm, grab handle, light, fender, slide, hatch, and propane compartment. Also mark the limit imposed by a friction hinge, gas strut, or holder catch.
Camper Doors Compared by Use Case
No single model is the best choice for every trailer. Choose by verified cutout compatibility, handing, corner profile, wall range, package contents, and return terms rather than brand or nominal size alone.
30 x 72-Inch Door

RecPro 30 x 72 Inch RV Entry Door
- Sized for many RV entry openings
- Includes an integrated screen door
- Comes with a matching door lock
- White finish suits classic camper exteriors
- Full entry-door replacement option
 Buy on Amazon
This wider RecPro assembly suits buyers whose documented opening matches its specifications. The listed screen and lock reduce separate purchases, but verify the required cutout, hinge convention, radius, wall depth, and freight-return policy.
26 x 72-Inch Door
RecPro 26 x 72 Inch RV Entry Door
- Compact width for RV door openings
- Includes an integrated screen door
- Comes with a matching door lock
- White finish offers a clean look
- Designed as a complete entry-door replacement
Buy on Amazon
The 26 x 72-inch option fits many narrower applications and includes a screen and lock in the supplied description. Match the seller’s diagram to your smallest opening measurement, not to the old slab alone.
Compact 24 x 68-Inch Door

Lippert 24 x 68 Inch RV Entry Door
- Designed for RV entry-door replacement
- Right-hand door configuration
- Measures 24 x 68 inch
- Square door profile
- Polar white exterior finish
Buy on Amazon
This Lippert listing targets shorter, narrower openings and identifies a square profile and right-hand configuration. Confirm what “right-hand” means on its diagram and check whether the square upper corners match the wall cutout.
Radius Door With Screen

Lippert 26 x 72 Inch Screen Door
- Complete RV entry door with screen
- Right-hinge configuration
- Measures 26 x 72 inch
- Radius-style door design
- Felt seal helps finish the installation
Buy on Amazon
This radius-style option is listed with a screen and felt seal. Product titles can blur the line between a screen and complete entry assembly, so verify the box contents, frame, lock, trim, and installation hardware before payment.
Taller Teardrop Door

Right-Hand Teardrop Trailer Door
- Made for teardrop trailer entryways
- Right-hand door configuration
- Measures 29.5 x 41 inch
- Compact size suits smaller campers
- Useful for entry-door replacements
Buy on Amazon
The 29.5 x 41-inch format offers more entry height than very short teardrop units. Test the proposed opening against the bed, interior handle, roof curve, and door swing arc before cutting the sidewall.
Short Teardrop Door

Right-Hand 26 x 36 Inch Teardrop Door
- Built for teardrop campers and RVs
- Right-side entry configuration
- Measures 26 x 36 inch
- Space-saving size for compact trailers
- Practical replacement entry-door option
Buy on Amazon
A 26 x 36-inch door suits low-profile bodies where roof height restricts a taller assembly. Ask whether those figures describe the flange, frame, slab, or required wall cutout; the difference can be several inches.
Mirrored Teardrop Doors

Left-Hand Black Teardrop Camper Door
- Black aluminum alloy door construction
- Tempered glass window adds visibility
- Key lock supports secure entry
- Left-hand configuration
- Fits campers and compact trailers
Buy on Amazon

Right-Hand Black Teardrop Camper Door
- Black aluminum alloy door construction
- Tempered glass window adds visibility
- Key lock supports secure entry
- Right-hand configuration
- Fits campers and compact trailers
Buy on Amazon
These left- and right-hand black doors suit builds needing entries on opposite sides. Compare their frame dimensions, lock heights, windows, keys, and mirrored hinge positions; paired product names don’t guarantee perfectly mirrored cutouts.
Camper Screen Door Selection and Repair
Replace the complete camper screen door when its frame, hinge mounts, or slider track is damaged; rescreen it when the frame stays straight and latches cleanly. The cheapest successful repair depends on the frame condition, not the size of the tear.
Complete Screen Door Replacement
Measure the overall frame, hinge centers, latch height, threshold profile, and upper corners. A custom screen door may make more sense when an older entry frame has no direct replacement, but confirm its RV travel suitability.
Rescreening an Existing Door
Pull the old spline carefully, clean the channel, and lay the replacement mesh without stretching it hard. The screen should feel flat with slight give; a drum-tight screen can bow a light aluminum frame and spoil latch alignment.
Fiberglass and Aluminum Mesh
Fiberglass mesh rolls into corners easily and springs back from light contact. Aluminum feels stiffer under the roller and resists some abrasion, but one sharp crease remains visible; compare further options in this guide to metal screen doors before choosing mesh material.
Pet-Resistant Screen Mesh
Pet-resistant mesh uses thicker strands that better resist claws, yet it reduces airflow slightly and needs the correct spline. For frequent animal traffic, compare mesh repair with a screen door with pet door and check lower-frame strength.
Latches Sliders and Spline
Measure the spline channel instead of reusing hardened cord by default. Sliders and latches also differ in width, screw spacing, and handle access, so retain the old components until the replacement parts fit.
Hinge and Threshold Compatibility
The screen must pivot without rubbing the entry frame and meet the keeper at the same height. Added flooring, a replacement sill, or worn hinge pins can create false latch failure even when the new latch matches.
Common Screen Door Failures
Frequent faults include loose spline, torn lower mesh, cracked sliders, weak latch springs, hinge wear, and bent frames. A screen that suddenly separates from the main door often has failed connecting hardware or entry-door sag, not bad mesh.
Camper Door Locks and Accessories
RV locks and accessories fit by cutout, door thickness, bolt position, strike alignment, and mounting pattern. A familiar paddle shape doesn’t make camper locks universal.
Replacement Lock Compatibility

Siasky RV Door Lock Replacement
- Replacement latch for camper entry doors
- Paddle handle with deadbolt design
- Zinc alloy construction
- Includes four keys
- Fits travel trailer and cargo trailer doors
Buy on Amazon
Measure the lock opening, slab thickness, backset, latch-bolt height, and interior clearance. A replacement deadbolt helps only when the strike, frame, and substrate remain sound; compare related door lock designs to see why geometry controls fit.
Lock Failure Symptoms
A free-moving paddle, stiff key, loose interior lever, or binding deadbolt may point to worn hardware. If the bolt binds only after leveling, inspect body twist and strike alignment before blaming the lock mechanism.
Frames Panels and Windows
Inspect aluminum frames for bends, cracked joints, oxidation, and loose fasteners. Foam-core panels can swell or delaminate around windows and locks; tempered or acrylic glazing must match the old frame and safety labeling, and shouldn’t be called an emergency exit without manufacturer identification.
Seals and Weatherstripping
Bulb seals, wipers, felt, butyl tape, and compatible exterior sealant perform different jobs. Fresh sealant won’t correct a twisted frame, and excess material can block designed drainage paths or trap water behind the flange.
Door Holders and Catches

RV T-Style Door Holder Catch Set
- Helps hold an RV door open
- T-style catch design
- Six-inch holder length
- Includes two catches
- Fits camper trailer and cargo hatch doors
Buy on Amazon
Position a holder where the open door can’t hit an awning arm, lamp, hatch, or trim strip. Mount it into solid backing and seal new holes with wall-compatible material; thin exterior skin alone provides poor screw retention.
Camper Door Costs and Hidden Fees
A complete replacement often costs several hundred dollars and can pass $1,000 for custom, oversized, premium, or freight-shipped work. Compare the landed cost, since delivery and wall repair can exceed the difference between two door prices.
Entry Door Price Ranges
Use broad planning bands: locks commonly cost tens of dollars, complete screen assemblies often reach the low hundreds, and full entry assemblies usually cost several hundred dollars. Custom sizing, glazing, and specialty finishes raise the budget range.
Screen and Hardware Costs
Mesh, spline, sliders, and latch springs are usually the least costly repairs. Buying several nearly matching parts can erase that saving, so measure channels, screw centers, hinge spacing, and latch dimensions before ordering.
Freight and Delivery Fees
Large camper doors may ship by freight rather than parcel service. Check residential delivery, appointment, lift-gate, remote-area, and damage-inspection terms; photograph the unopened packaging and note visible freight damage before signing.
Returns and Restocking
Return freight and restocking charges can make a mistaken oversized order uneconomical to send back. Custom products may be nonreturnable, so save the listing, cutout drawing, seller confirmation, and return policy with your measurement photos.
Installation and Wall Repairs
Labor rises when removal exposes rot, crushed foam, corrosion, loose blocking, or delamination. Door replacement should pause until the opening can hold fasteners and remain square; covering soft framing creates a short-lived repair.
Realistic Landed Cost
Realistic replacement cost equals door price plus freight, delivery surcharges, supplies, labor, and wall repairs, minus reusable parts. Add possible return freight to the purchasing risk before selecting the cheaper listing.
Camper Door Replacement and Installation
Successful camper door replacement depends on a sound, square opening and even frame fastening. Follow the door maker’s instructions and any model-specific guidance from the RV manufacturer; the RV Industry Association also publishes industry and safety resources relevant to RV construction.
Pre-Installation Fitment Checks
Inspect the shipment before removing the old door. Confirm size, handing, corners, finish, frame depth, screen, keys, trim, and hardware, then dry-fit when the manufacturer permits; an exterior door frame kit overview helps clarify frame component roles.
Removing the Existing Door
Support the assembly before taking out the final screws. Photograph fastener locations, threshold position, seal layers, wiring, and trim orientation; some doors contain entry-light, keyless-lock, alarm-contact, or door-switch wiring.
Inspecting the Wall Opening
Remove old butyl and failed sealant with a plastic scraper, then probe suspicious areas without damaging the skin. Dark staining, a musty smell, crumbling material, or screws that spin indicate concealed water damage.
Repairing Structural Damage
Replace rotten blocking, address corrosion, and restore the opening to the door maker’s tolerance before installation. A flange can hide soft material, but it can’t make weak foam or rotten wood provide lasting fastener grip.
Sealing and Fastening
Apply the specified tape or sealant and tighten fasteners in the stated sequence. Work gradually around the frame; overdriving one area can pull aluminum into a shallow wave that feels tight yet creates uneven seal compression.
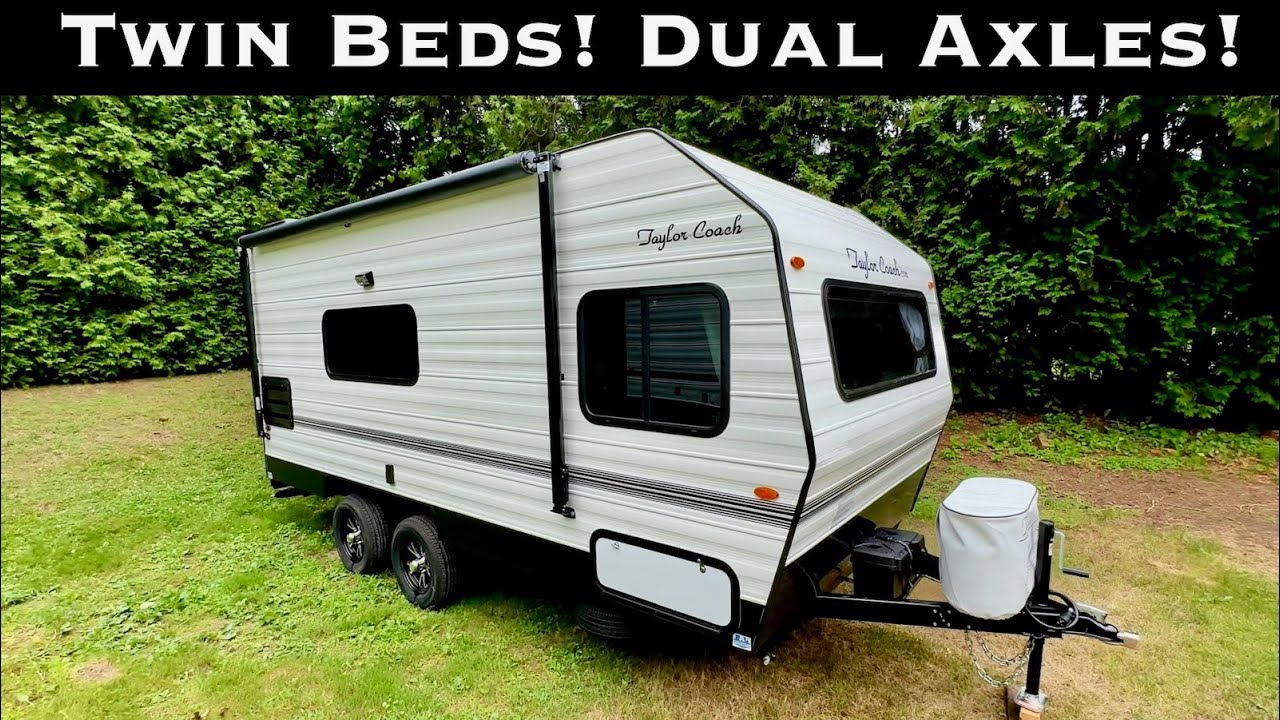
Protecting Drainage Paths
Keep factory weep points and sill drainage channels open. Beginners often draw one continuous bead across every lower gap; that can trap water inside the frame, so map the drain openings before applying sealant.
Post-Installation Testing
Cycle both doors, operate the deadbolt, deploy the steps, and test nearby awnings and hatches. Run a controlled low-pressure water test from the bottom upward, pausing between zones; never blast water upward beneath seals during the leak test.
Camper Door Troubleshooting
Trace a camper door fault to alignment, structure, seals, or hardware before replacing parts. Many leaks and lock problems start outside the visible failure point, so symptom-based diagnosis prevents repeat repairs.
Water Around the Frame
Check perimeter sealant, butyl compression, corner joints, screws, window seals, and drainage channels. Water at the threshold may have entered above the door and traveled inside the wall; dry one area at a time to identify the true leak source.
Door Sag and Misalignment
Lift gently at the latch edge while watching the hinge, frame, and wall. Movement at the pins suggests wear, while movement behind the frame points to loose fasteners or damaged blocking; shifting the strike plate alone is a temporary workaround.
Binding After Leveling
A door that works during travel but binds at camp often signals body twist. Record operation before and after leveling, review stabilizer use, and inspect diagonal measurements; stabilizers aren’t automatic substitutes for structural lifting points.
Delamination and Soft Framing
Exterior bubbles, soft screw holes, loose trim, and recurring leaks point to compromised wall material. Resealing the flange may slow entry, but a durable repair requires sound substrate around the entire door opening.
Screen Door Misalignment
Inspect entry-door sag, screen hinges, connecting clips, latch height, and the threshold. If the problem appeared after new flooring, look for reduced lower clearance before bending the frame or moving the screen keeper.
Wind Noise and Gaps
Use a narrow paper strip to compare seal pressure around the closed door. A strip that slides freely identifies a weak contact area; frame twist, tired bulb seals, or loose latches commonly cause highway wind noise.
Repair Versus Replacement
Repair mesh, sliders, seals, latches, and minor hinge wear when the frame remains square and the wall stays firm. Replace the assembly when it is bent, delaminated, structurally loose, repeatedly leaking, or unsupported by available compatible repair parts.
Practical Notes From Real-World Use
A correctly fitted door closes with a solid, even click rather than a hollow rattle or hard shoulder shove. During installation, frame distortion often appears first as a rough latch feel, a screen that brushes the sill, or a thin daylight line at one upper corner.
| Symptom | Likely cause | Quick inspection | Best response |
|---|---|---|---|
| Water at threshold | Frame seal, window leak, or blocked drain | Sectioned low-pressure water test | Repair source before resealing everything |
| Deadbolt binds | Sag, strike movement, or body twist | Test at different leveling states | Correct alignment before replacing lock |
| Screen won’t latch | Hinge wear or changed threshold height | Compare latch and keeper centers | Restore geometry, then adjust keeper |
| Screws spin | Soft or missing backing | Inspect substrate behind flange | Repair structure before reinstalling |
| Wind noise | Low seal pressure or frame distortion | Paper-strip test around perimeter | Adjust alignment or replace the failed seal |
FAQs
Disclosure: LuxyDoor is reader-supported. When you buy through links on our site, we may earn an affiliate commission at no extra cost to you. As an Amazon Associate we earn from qualifying purchases.

Abdelbarie Elkhaddar
Glamorwood Ltd.
A door expert and home improvement writer with over 12 years of experience. I help homeowners and contractors choose smart, stylish, and secure doors.
Bifold Barn Door Buying Guide: Sizes, Clearance, Hardware, and Tips
A bifold barn door can add barn-style character while saving space in closets, pantries, laundry rooms, bathrooms, and tight hallways. This guide explains how they work, how to measure correctly, what hardware you need, and what to check before buying.Modern Barn Door Buying Guide: Styles, Hardware, Sizing and Costs
Choosing a modern barn door means balancing style, privacy, hardware, sizing and installation needs. This guide compares materials, room fit, costs and product options so you can choose the right modern sliding barn door for your space.




Leave a Reply