

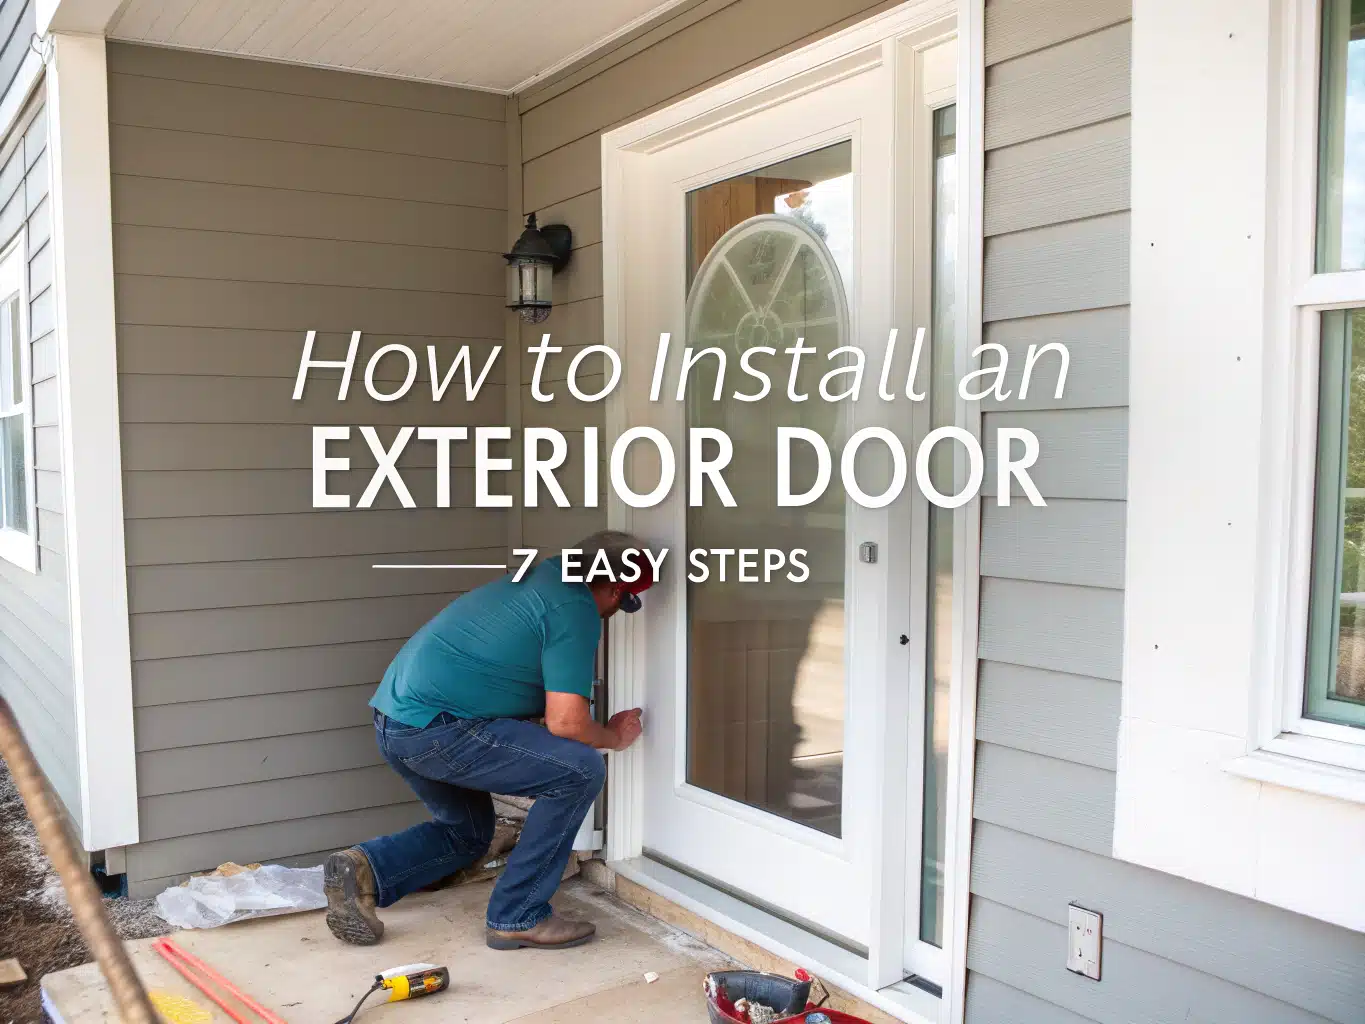
To learn how to install an exterior door, measure the rough opening, remove the old unit, repair and flash the opening, then plumb, shim, fasten, insulate, and test the replacement. This guide focuses on a prehung door in a sound wood-framed wall; masonry openings, structural resizing, and large entry systems need different methods.
Table of Contents
How to Install an Exterior Door
A successful installation depends on three linked goals: a square operating frame, secure structural anchorage, and a sill assembly that drains outside. Keep the manufacturer’s instructions beside the opening because its rough-opening allowance, sealant pattern, and fastening schedule override generic advice.
Measure the Opening
Measure the existing slab, jamb depth, frame exterior, and exposed rough opening. Take width readings at the top, center, and bottom and height readings at the left, center, and right; use the smallest measurements when checking whether the new unit fits.
Confirm Swing and Handing
Confirm whether the door swings inward or outward and which side carries the hinges when viewed using the manufacturer’s stated convention. Handing terms vary between sellers, so a sketch with hinge locations is safer than relying on “left-hand” or “right-hand” alone.
Remove the Existing Door
Support the slab while removing hinge pins or hinge screws, then score paint and caulk around the casing before prying it away. Cut frame fasteners cautiously because alarm wires, electrical cables, and flashing can sit inside the jamb-to-stud gap.
Inspect the Rough Opening
Probe the sill, lower corners, sheathing, and jack studs with an awl. Soft fibers, a mushroom-like odor, dark staining, or wood that crumbles under light pressure signals active or past moisture; repair the damage and its source before covering it.
Dry-Fit the Door
Set the unopened unit into the opening with a helper before applying sealant. Check threshold support, jamb depth, trim coverage, floor clearance, and swing space, then mark the final frame position on the sill and wall.
Install Sill Flashing
Build or install a sill pan with an outward slope, back dam, and end dams. Lap flexible flashing in shingle fashion so incidental water reaches the exterior rather than soaking the subfloor; never cover the pan’s designed drainage outlet.
Set, Shim, and Fasten
Set the threshold into the specified sealant pattern, brace the unit, and plumb the hinge jamb first. Place shims behind hinges and strike locations, then fasten through the shims into framing while maintaining a consistent door reveal, commonly close to 1/8 inch.
Insulate, Trim, and Test
Apply low-expansion window-and-door foam in light passes, add trim, install the lockset, and adjust the sweep. The door should remain still at several open positions, latch with a gentle push, and accept the deadbolt without lifting or forcing the slab.
- Measure the slab, unit, jamb depth, and rough opening.
- Confirm the size, swing, handing, and floor clearance.
- Remove the slab, casing, frame, and threshold.
- Repair rot, loose framing, and an uneven sill.
- Dry-fit the prehung unit and mark its position.
- Install an outward-draining sill pan and flashing.
- Apply the manufacturer-specified sealant pattern.
- Plumb, shim, and fasten the hinge jamb.
- Align and anchor the strike and head jambs.
- Test reveals, swing, latch, deadbolt, and seals.
- Insulate the gap and install interior and exterior trim.
- Prime, paint, and complete the final hardware adjustments.
Plan the Exterior Door Installation
Choose the door system, verify dimensions and code limits, and gather compatible materials before removing anything. A straightforward prehung replacement can take four to eight hours, while a first attempt often occupies a full day or weekend.
Prehung vs. Hanging a Slab
A prehung unit includes the slab, hinges, jambs, stops, and usually the threshold. It’s the practical choice when the old frame leaks or has damage; hanging an exterior door slab demands precise hinge mortises, lock bores, beveling, and strike alignment in a frame that must already be square.
Slab replacement can preserve historic trim and reduce demolition, but a 1/16-inch error at a hinge mortise can create visible misalignment at the latch edge. Use a slab only when the existing frame feels dry, rigid, and square and the new door matches its thickness and bevel.
Retrofit Door Systems
A retrofit or insert system may fit inside part of the old frame. It reduces siding damage but also reduces clear opening width and can conceal old leaks, so inspect every retained component before selecting this lower-demolition option.
Slab and Unit Dimensions
Nominal slab size, prehung frame size, and rough-opening size are different measurements. A nominal 36-by-80-inch slab produces a larger assembled unit; compare the actual frame dimensions and required clearance rather than ordering from the slab label alone.
Common widths include 30, 32, 34, and 36 inches. If you’re replacing a common smaller entry, compare the actual opening with a 32 x 80 door before assuming the nominal size identifies the frame.
Rough-Opening Measurements
Many units need roughly 1/2 to 1 inch of total width clearance and about 1/2 inch above the frame, but no universal allowance fits every product. Flashing thickness, sill leveling, and an opening’s irregular shape consume part of that installation clearance.
Measure both diagonals after exposing the framing. Equal readings indicate square; a practical target is within about 1/8 inch where correction is possible, though the door maker’s tolerance remains the controlling requirement.
Swing and Handing
Check for interference with switches, steps, railings, furniture, storm doors, and required landings. Outswing doors also need suitable security hinges, while inswing units need interior floor clearance and enough room for the full opening arc.
Code and Safety Checks
Commonly adopted residential code provisions call for one egress door with at least 32 inches of clear width and 78 inches of clear height, measured through the open doorway. Landings, thresholds, glazing, and local amendments also apply; verify the adopted rules through the ICC code library and local building department.
Homes built before 1978 may contain lead paint. Disturbing old casing can release fine, sweet-metallic-smelling dust that settles beyond the work zone, so follow EPA lead-safe requirements rather than dry-sanding painted trim.
Tools and Materials
| Category | Items | Practical purpose |
|---|---|---|
| Layout | Tape, 2-foot and 4-foot levels, square, pencil | Measure the opening and monitor jamb alignment |
| Removal | Utility knife, flat bar, hammer, reciprocating saw | Release trim and old frame without tearing the wall |
| Installation | Drill, driver, bits, shims, approved fasteners | Position and structurally anchor the frame |
| Water control | Sill pan, flashing tape, roller, compatible sealant | Direct incidental water outdoors |
| Air sealing | Low-expansion foam, backer rod, interior sealant | Limit drafts without bowing the jamb |
| Protection | Glasses, gloves, hearing protection, suitable respirator | Reduce cutting, dust, noise, and lifting hazards |
Match sealant to vinyl, aluminum, fiberglass, wood, membrane, and cladding surfaces. Also choose corrosion-resistant fasteners approved for treated lumber; incompatible metal or chemistry can cause staining, corrosion, or failed adhesion.
Cost and Time
Broad planning ranges place basic steel prehung units near $200–$600, fiberglass units near $400–$1,500 or more, and wood doors from roughly $600 to several thousand dollars. Sidelights, glass, custom sizing, and multi-point locks raise the door-unit cost.
Allow another $50–$200 or more for flashing, sealant, foam, shims, and fasteners. Budget separately for disposal, locks, trim, paint, permits, flooring work, and a hidden-damage reserve; regional pricing and product choice can shift every range.
When to Hire Help
Hire qualified help for a damaged header, rotten studs, major resizing, masonry, stucco repairs, widespread mold, active insects, or unresolved leakage. Double doors, sidelights, impact-rated systems, and heavy wood slabs also create lifting and alignment risks that exceed a typical solo project.
Two people should handle most exterior units. The awkward weight pulls at the wrists while the threshold tries to slide, and one sudden lean can damage the pan or pinch fingers between the frame and studs.
Remove and Prepare the Opening
Remove the old assembly carefully, then make the rough opening level, stable, dry, and correctly sized. Never use the replacement frame to conceal structural or moisture damage.
Prepare the Work Area
Choose a dry forecast and arrange plywood or a tarp in case the opening can’t be closed before dark. Move rugs and furniture, protect flooring, disable door alarms, and keep children and pets away from sharp exposed fasteners.
Remove Slab and Hardware
Close and support the slab before releasing its hinges. Remove reusable locks and strikes, label their screws, and carry the slab flat with a helper; glass inserts and solid wood can make the handle side unexpectedly heavy.
Remove Existing Trim
Cut every paint and caulk joint with a sharp utility knife. Work a thin bar behind the casing over a broad putty knife so pressure spreads across the drywall or plaster instead of leaving crescent-shaped dents.
Cut Frame Fasteners
Remove visible screws first, then cut concealed nails between the jamb and framing with a reciprocating saw. Use a short controlled stroke near wiring and alarm contacts; a long blade can wander into hidden wall materials.
Inspect Water Damage
Focus on the lower corners, subfloor edge, sheathing, and sill. Dry wood gives a crisp resistance under an awl, while decayed wood feels spongy and releases damp fibers; trace stains upward because threshold water may start at the head flashing.
Check Level and Square
Check sill level, side trimmer plumb, wall twist, and both diagonals. A frame can be square when viewed from the front yet twisted across its depth, causing the slab to spring open against the weatherstrip at one corner.
Repair Structural Damage
Replace compromised framing with properly supported material and correct the leak before continuing. An exterior door frame kit can replace jamb components, but it can’t repair a weakened header, subfloor, or load-bearing stud assembly.
Level and Support Sill
Build a continuous, firm bearing surface beneath the threshold using durable noncompressible material approved by the door maker. Small isolated blocks leave hollow areas that flex and squeak underfoot, break sealant bonds, and create low spots for water.
Check Finished Floor Height
Account for tile, rugs, decking, and planned floor layers before setting the sill height. Open the dry-fitted slab and watch the sweep path; correcting a floor conflict after fastening often means removing the entire unit.
Dry-Fit the Unit
Check perimeter clearance, threshold bearing, jamb depth, trim plane, and siding relationship. Shipping braces can hide a racked frame, so inspect corner joints and test the slab if the instructions allow before committing to sealant and fasteners.
Waterproof the Exterior Door Opening
An exterior opening needs layered flashing that directs water down and out, rather than a thick perimeter bead that attempts to block every drop. The sill pan serves as secondary drainage protection when weatherstripping or sealant eventually leaks.
Create an Outward Slope
Correct any back-sloped rough sill before installing the pan. A slight exterior fall gives gravity a drainage route; the pan shouldn’t depend on sealant to hold standing water indefinitely against the interior back dam.
Install the Sill Pan
Size and assemble a manufactured pan using its approved corner pieces, adhesive, and sealant. For a site-formed membrane pan, follow the membrane and door instructions together and avoid fasteners through the lowest drainage surface.
Form Back and End Dams
Turn the pan upward at the room side and both jamb ends. These dams contain incidental water long enough for it to drain forward, but folds must lie flat so they don’t tilt or distort the prehung door frame.
Integrate Flexible Flashing
Clean the substrate and press pressure-sensitive flashing firmly with a roller. Avoid overstretching corners because stretched membrane tries to return to shape, producing fish-mouth openings that feel like small raised ridges beneath the threshold or jamb.
Lap the Weather Barrier
Arrange layers like roof shingles: upper material overlaps lower material. Side flashing should feed onto the sill protection, while the upper weather barrier laps over the head flashing so rain remains on the exterior drainage plane.
Add Head Flashing
Install a compatible drip cap or head flashing where required by the door, trim, and cladding system. Extend it beyond vulnerable trim joints where the detail permits, then lap the wall barrier over it to prevent water entry from above.
Apply Compatible Sealant
Use the door maker’s exact bead count and location under the threshold. Clean, dry surfaces matter more than an oversized bead; wet dust creates a weak skin that peels away with light finger pressure after curing.
Preserve Drainage Paths
Leave factory weeps, pan outlets, and specified trim gaps open. A common beginner error is sealing the entire exterior edge, which traps water behind the threshold and directs it inward once the hidden cavity fills.
Set, Shim, and Fasten the Door
Set the unit on its supported sill, plumb the hinge jamb, and fasten through solid shims at structural locations. Test the slab after each adjustment because one overtightened screw can change the reveal several feet away.
Position the Door Unit
Lower the threshold onto the prepared sealant without sliding it back and forth, then tip the unit upright. Brace it immediately; brickmould may locate the frame against the wall, but exterior trim alone isn’t a structural attachment.
Plumb the Hinge Jamb
Check the hinge jamb along its face and across its depth. The level bubble should settle cleanly between the lines without drifting; a twisted hinge jamb makes an otherwise square door resist the weatherstrip or move by itself.
Shim Behind Hinges
Place opposing shims behind each hinge or at the maker’s stated locations. Keep their tapered faces together to create parallel bearing, then drive the structural fastener through the jamb and solid shim pack into framing.
Shim the Strike Jamb
Shim behind the lockset and deadbolt strikes, plus any required intermediate points. Stop tapping as soon as the jamb reaches alignment; another firm hammer tap can bow the jamb inward and create a tight latch-side reveal.
Support the Head Jamb
Add head-jamb shims only where the installation instructions call for them. Don’t force the head downward to close a gap because that can make the slab scrape at the upper corner and disturb the side-jamb alignment.
Follow the Fastening Schedule
Identify whether approved fasteners pass through jambs, hinge leaves, installation clips, or factory holes. Screws around 3 inches long are common at hinge points, but composition, length, spacing, and penetration must match the door installation manual.
Anchor Hinges and Strikes
Anchor the hinge side and reinforced deadbolt strike into framing, not just the thin jamb. Predrill hardwood to prevent splitting, and stop driving once the screw seats; an impact driver can easily pull the jamb out of plumb.
Check Reveals and Swing
Look for a visually consistent gap around the slab, often near 1/8 inch where specified. Open the door to 30, 60, and 90 degrees; movement at every position points to hinge-jamb plumb, while spring-back near closed can indicate frame twist or compressed weatherstrip.
Test Latch and Deadbolt
Close the door with normal hand pressure and turn both locks. Correct frame position before filing or moving a strike; a deadbolt that works only while pushing the slab indicates alignment or seal pressure, not necessarily faulty hardware.
Insulate, Trim, and Finish
Insulate lightly, preserve exterior drainage, install trim without disturbing the jamb, and finish every surface required by the warranty. Final adjustments should produce steady weatherstrip contact with no scraping, rattling, or visible daylight.
Apply Low-Expansion Foam
Use foam labeled for windows and doors and fill the cavity in light passes. Standard high-expansion foam can push a jamb inward as it cures; if the foam bead becomes hard and presses against the frame, remove it and realign the jamb.
Create Interior Air Seals
Seal the room-side perimeter with suitable foam or backer rod and sealant. Loosely placed fiberglass can slow heat flow, but it doesn’t stop moving air, and tightly packed fiberglass loses much of its insulating value.
Install Exterior Trim
Use corrosion-resistant fasteners and maintain required clearance from grade, decking, and roofing. Seal vulnerable trim joints without closing weeps or drainage outlets, and check that the head flashing projects beyond the water-sensitive joint.
Install Interior Casing
Trim shims only after the door passes every operating test. Nail casing into the jamb and framing with controlled pressure; drawing warped casing tight with heavy fasteners can shift a slender jamb and alter the finished reveal.
Fit Lockset and Deadbolt
Confirm whether the hardware uses a 2-3/8-inch or 2-3/4-inch backset before drilling. Tighten mounting screws evenly so the lock operates smoothly, then anchor the reinforced strike using the hardware maker’s approved structural screws.
Adjust Sweep and Threshold
Raise an adjustable threshold in small increments until the sweep touches evenly across its width. Excess height makes the rubber drag with a coarse rubbing sound, strains the latch, and wears the sweep edge prematurely.
Check Weatherstrip Contact
Close the door on a strip of paper at several perimeter points. Similar pulling resistance indicates even compression; an easy-sliding location marks a weak seal, while paper that tears can indicate excessive compression.
How to Paint Exterior Door Surfaces
For anyone asking how to paint exterior door surfaces, start with the coating named by the door maker. Clean construction residue, scuff glossy surfaces where permitted, remove dust, prime exposed substrate, and apply thin coats within the label’s temperature and humidity limits.
Wood often needs all six sides sealed, including the top and bottom. Steel needs rust treatment and compatible metal primer at bare spots, while fiberglass requires an approved paint or stain; compare fiberglass vs. steel before choosing preparation methods.
Mask or remove locks, kick plates, and removable weatherstripping. Keep the door open until the coating no longer feels tacky at the edge, since closing too soon can weld fresh paint to the stop and leave a ragged peeled line.
Dark colors absorb more heat, especially behind a storm door, and may warp a slab or breach warranty limits. For metal-specific surface preparation and coating steps, see this guide to paint a metal front door.
Protect Door Warranties
Keep the purchase record, model label, installation manual, and photos of flashing before trim covers it. Warranty coverage may depend on approved fasteners, prompt edge finishing, paint-color limits, required overhangs, and the documented installation method.
Troubleshoot Installation Problems
Diagnose exterior door problems from the reveals, frame position, and seal pressure before altering hardware. Filing a strike or bending a hinge may hide the symptom while leaving the installation error untouched.
Door Moves by Itself
A slab that consistently swings open or closed usually has an out-of-plumb hinge jamb or misaligned hinge barrels. Recheck plumb in both directions and correct the shims rather than using hinge-bending tricks as the first repair.
Door Rubs or Binds
Rubbing at the upper latch corner can signal slab sag, a loose upper hinge, a racked frame, or a low head jamb. Binding that begins after fastening usually points to an overtightened screw or an overdriven shim.
Door Will Not Latch
Inspect the full latch-side reveal and confirm that the door closes against the weatherstrip without needing a hard push. Correct sag, jamb bow, or frame position before moving the latch strike plate.
Deadbolt Requires Force
A correctly aligned deadbolt enters without pushing, pulling, or lifting the slab. Mark where the bolt touches the strike, then check hinge screws, weatherstrip pressure, and jamb alignment before enlarging the strike opening.
Uneven Door Reveals
A wedge-shaped reveal indicates a racked frame, while a local pinch often identifies one tight shim or screw. Loosen the nearest fastener slightly, reset the shim pack, and retest before adding new fastening points.
Daylight Around the Door
Check corner pads, weatherstrip seating, slab warp, sweep contact, and threshold level. Caulk isn’t suitable on a moving seal surface; adjust or replace the relevant weather seal rather than applying a rigid patch.
Water at the Threshold
Inspect head flashing and side laps before blaming the sill because water can run behind trim from above. Also check pan outlets, end dams, weeps, sweep contact, threshold support, and failed sealant bonds.
Foam Bows the Frame
Cut out the hardened foam cautiously without scoring the jamb, release affected fasteners, and restore the reveal with shims. Reapply low-expansion window-and-door foam in smaller passes after the frame operates freely again.
Optional Installation Resources
These references can supplement the model-specific door manual with diagrams, fitting methods, and troubleshooting examples. They don’t replace the fastening, flashing, finishing, or warranty instructions supplied with the actual door unit.

DIY Door Installation Guide
- Covers door installation basics
- Helps with common door repairs
- Explains ongoing door maintenance
- Includes troubleshooting guidance
- Useful for homeowners and contractors
 Buy on Amazon

Doors Done Right
- Focused on properly fitted doors
- Supports DIY renovation projects
- Helps improve door alignment
- Covers practical fitting techniques
- Designed for home renovators
Buy on Amazon

Fine Homebuilding Doors and Windows
- Covers doors and window construction
- Offers professional building insights
- Helps plan installation details
- Useful for exterior door projects
- Ideal for serious DIYers
Buy on Amazon

Install Any Door in Ten Steps
- Provides an illustrated installation process
- Breaks work into clear steps
- Covers choosing the right door
- Explains proper door measuring
- Built for beginner DIY projects
Buy on Amazon
The most reliable field check is simple: test after every fastener. If the reveal changes or the latch grows stiff, correct that step immediately rather than hoping trim, foam, or hardware adjustment will hide it.
Practical installation note
FAQs
Can I Install An Exterior Door Myself?
Yes, you can install an exterior door yourself if you have basic carpentry skills, the right tools, and a helper. Accurate measuring, a level opening, and careful shimming are essential for weatherproof operation. A prehung unit is usually easiest for DIY installation. Call a professional if the framing is damaged, the opening is out of square, or local code requires it.
How Difficult Is It To Install A Prehung Exterior Door?
Installing a prehung exterior door is moderately difficult because the frame, threshold, hinges, and weatherstripping must all be aligned correctly. Most capable DIYers can complete it in a day with a helper. The hardest parts are preparing a square rough opening, keeping the jamb plumb, and sealing the sill against water. Follow manufacturer instructions and check operation before fastening permanently.
What Size Rough Opening Do I Need For An Exterior Door?
A rough opening for an exterior prehung door is typically 2 inches wider and 2 to 2 1/2 inches taller than the door slab size. For example, a 36-by-80-inch door commonly needs a 38-by-82 1/2-inch opening. Always confirm the required opening on the manufacturer’s label. The frame style, sill height, and flooring thickness can change the measurement.
Where Should Shims Go On An Exterior Door?
Place shims behind the hinge locations, behind the strike plate, and at other points needed to keep the jamb plumb, level, and straight. Shim from both sides of the opening without bowing the frame. Use paired shims so they remain stable, then fasten through the jamb at shim locations. Check the door reveal and latch action after each adjustment.
Does An Exterior Door Need A Sill Pan?
Yes, an exterior door should have a properly flashed sill pan to direct water away from the framing and prevent rot. A manufactured pan or site-built flashing membrane can work when installed according to the door manufacturer’s instructions. The pan should slope outward and integrate with the weather-resistive barrier. This detail is especially important for exposed doors and rainy climates.
Disclosure: LuxyDoor is reader-supported. When you buy through links on our site, we may earn an affiliate commission at no extra cost to you. As an Amazon Associate we earn from qualifying purchases.

Abdelbarie Elkhaddar
Glamorwood Ltd.
A door expert and home improvement writer with over 12 years of experience. I help homeowners and contractors choose smart, stylish, and secure doors.
Bifold Barn Door Buying Guide: Sizes, Clearance, Hardware, and Tips
A bifold barn door can add barn-style character while saving space in closets, pantries, laundry rooms, bathrooms, and tight hallways. This guide explains how they work, how to measure correctly, what hardware you need, and what to check before buying.Modern Barn Door Buying Guide: Styles, Hardware, Sizing and Costs
Choosing a modern barn door means balancing style, privacy, hardware, sizing and installation needs. This guide compares materials, room fit, costs and product options so you can choose the right modern sliding barn door for your space.





Leave a Reply